Wall tiles are a practical and attractive choice for kitchens, bathrooms, and other spaces prone to moisture and grime. They’re durable, easy to clean, and come in countless styles. But to keep them looking sharp, regular maintenance is key. Dirt, soap scum, and mildew can build up fast. The good news? With the right routine and tools, cleaning wall tiles can be quick and painless.
Step 1: Understand the Material
Before jumping into cleaning, identify the type of tile. Ceramic and porcelain tiles are common and fairly low maintenance. Natural stone tiles like marble or slate require more careful handling. Using the wrong cleaner can stain or etch the surface, especially for porous materials.
If you’re not sure what kind of tile you have, check the installation documents or ask the original installer. If you're planning to renovate or replace your tiles, a good starting point is checking with a wall tiles manufacturer in India for recommendations specific to each tile type.
Step 2: Gather the Right Cleaning Supplies
You don’t need anything fancy. Here’s what you’ll need for basic tile maintenance:
- Mild dish soap or a pH-neutral tile cleaner
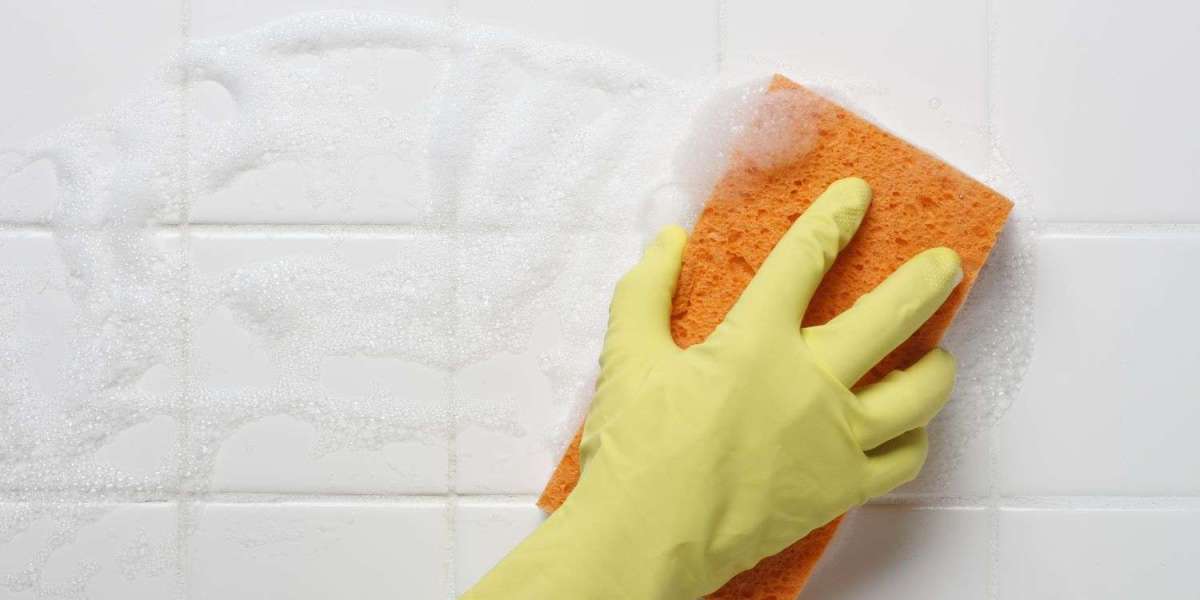
- Soft-bristle brush or sponge
- Microfiber cloth
- Vinegar and baking soda (for stubborn stains, only for ceramic/porcelain)
- Bucket and warm water
- Spray bottle
Avoid abrasive tools like steel wool or hard-bristled brushes, as they can scratch the tile or grout.
Step 3: Routine Cleaning
For weekly maintenance, use a soft sponge and a solution of warm water mixed with a few drops of dish soap. Wipe down the wall tiles gently to remove grease, soap residue, and dust. This is especially useful in kitchens where cooking oil and smoke can cling to walls.
Once wiped down, rinse the tiles with clean water and dry them with a microfiber cloth. This prevents water spots and keeps tiles shining.
Step 4: Deep Cleaning Grout
Grout is often the first area to look dirty, even if the tiles are clean. It’s porous and traps grime easily. To clean grout effectively:
- Mix baking soda and water into a paste.
- Apply it to the grout lines.
- Spray with white vinegar (only if tiles are not natural stone).
- Let it fizz for a few minutes, then scrub with a soft brush.
- Wipe clean and rinse thoroughly.
For stubborn stains, use a commercial grout cleaner or a steam cleaner. Sealing grout once or twice a year can help prevent future staining.
Step 5: Removing Tough Stains and Build-Up
Soap scum, mildew, and mineral deposits can be harder to remove. Here’s how to deal with them:
- Soap scum: Use a mixture of vinegar and water (1:1) for ceramic or porcelain tiles. Spray on, let it sit for a few minutes, then wipe clean. Don’t use vinegar on natural stone.
- Mildew or mold: Use diluted bleach (1 part bleach to 3 parts water) and apply it directly to affected areas. Leave it for 10 minutes before scrubbing and rinsing. Ensure good ventilation during this process.
- Hard water stains: Lemon juice or a calcium-lime remover can help. Always test on a small area first.
Step 6: Preventative Maintenance
Keeping tiles clean is easier than constantly scrubbing stains. Preventive steps go a long way:
- Wipe tiles regularly with a dry cloth to reduce moisture build-up.
- Install exhaust fans in bathrooms to reduce humidity.
- After showers, quickly squeegee or wipe down tiles.
- Clean spills and splashes in the kitchen right away.
For homeowners selecting new tiles, it’s smart to consult tiles manufacturers in India about tile types that are stain-resistant or require less frequent sealing.
Step 7: Seal When Needed
Most ceramic and porcelain wall tiles don’t need sealing, but grout and some natural stone tiles do. Sealing helps keep moisture out and prevents stains from setting in.
Grout should be sealed every 6–12 months, depending on usage. Natural stones may need sealing more often. Use a good-quality sealer and follow the instructions carefully.
Step 8: Check for Damage
Once in a while, inspect your tiles for cracks, chips, or loose sections. Damaged tiles not only look bad but also allow water to seep behind the surface, leading to mold or water damage.
If you find any damaged tiles:
- Remove and replace them as soon as possible.
- Check the underlying surface for signs of water damage.
- Regrout or reseal if needed.
Some porcelain tiles manufacturer companies offer tiles that are tougher and more resistant to chipping and cracking, which is worth considering for high-traffic or wet areas.
Bonus Tips
- Test any new cleaner on a small, hidden area first.
- Use doormats or area rugs near tiled entryways to trap dirt.
- Don’t mix cleaners, especially bleach and vinegar—it creates harmful fumes.
- Label your cleaning supplies to avoid cross-contamination between bathroom and kitchen.
Final Thoughts
Wall tiles are a low-maintenance, long-lasting choice—but only if they’re cared for properly. Regular cleaning, occasional deep scrubbing, and sealing when needed can keep your tiles looking new for years. Whether you’ve sourced your tiles locally or from a tiles manufacturer in India, these care tips apply across the board.