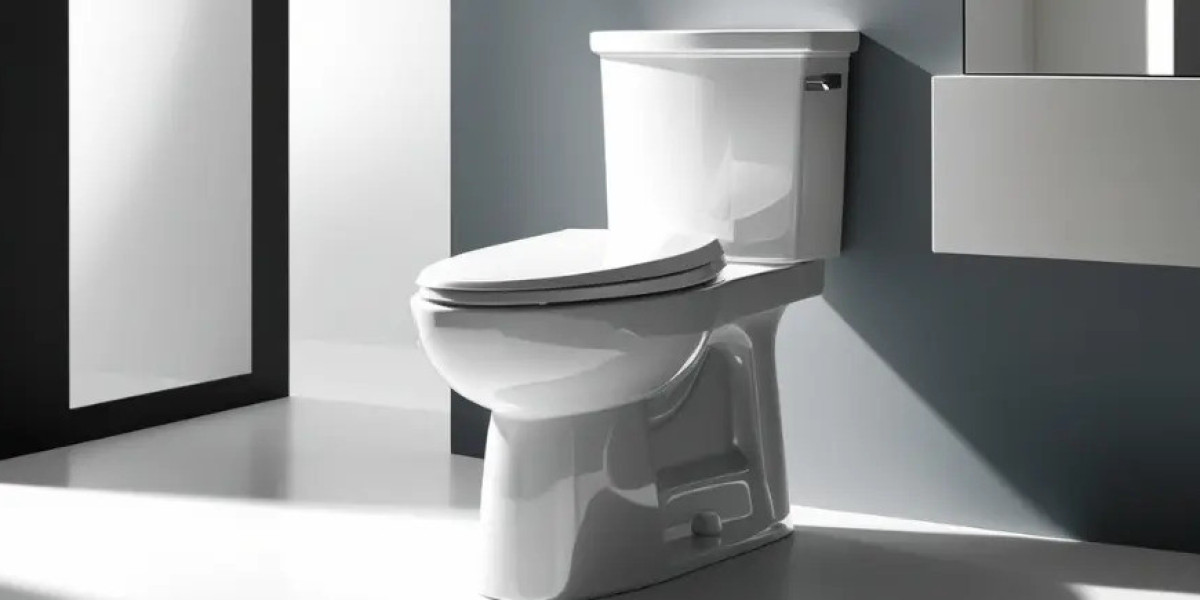
Introduction
Installing a Glacier Bay toilet in your bathroom can be a straightforward DIY project if you follow the right steps. Whether you're replacing an old toilet or installing a new one, this guide will walk you through the process with ease. Glacier Bay toilets website are known for their affordability and reliability, making them a popular choice among homeowners. Here's how to get the job done.
Tools and Materials Needed
Before you start, gather the following tools and materials:
- Adjustable wrench
- Screwdriver (flathead and Phillips)
- Wax ring
- Toilet flange bolts
- Level
- Bucket and sponge (for cleaning)
- Towel or rag
- Silicone caulk (optional)
Safety Tips
- Shut off the water supply before starting.
- Wear gloves to protect your hands during the installation process.
- Always handle the toilet carefully to avoid cracks or damage.
Step 1: Remove the Old Toilet
Turn Off the Water Supply
Locate the shut-off valve near the base of the toilet and turn it clockwise to stop the water flow. Flush the toilet to empty the tank and bowl. Use a sponge or towel to soak up any remaining water.Disconnect the Water Supply Line
Use an adjustable wrench to disconnect the water supply line from the tank. Keep a bucket handy to catch any residual water.Remove the Old Toilet
Unscrew the bolts securing the toilet to the floor. Carefully lift the toilet straight up to avoid damaging the wax ring or flange. Set the old toilet aside and clean the area around the flange.
Step 2: Prepare the Flange
Inspect the Flange
Check the toilet flange for any cracks or damage. Replace it if necessary to ensure a secure fit for your new toilet.Install New Flange Bolts
Place the new flange bolts into the flange slots, ensuring they are evenly spaced and upright.Position the Wax Ring
Place a new wax ring on the bottom of the toilet's base or directly onto the flange. This creates a watertight seal.
Step 3: Install the Glacier Bay Toilet
Position the Toilet
Carefully lower the toilet onto the flange, aligning the holes in the toilet base with the flange bolts. Press down firmly to compress the wax ring and secure the seal.Secure the Toilet
Tighten the nuts onto the flange bolts evenly, alternating sides to ensure the toilet is level. Be cautious not to overtighten, as this could crack the porcelain.Check for Levelness
Use a level to ensure the toilet is sitting evenly. Adjust as needed before fully tightening the bolts.
Step 4: Connect the Water Supply
Reattach the Water Supply Line
Connect the water supply line to the tank and tighten it with an adjustable wrench. Avoid overtightening to prevent leaks.Turn On the Water Supply
Slowly turn the shut-off valve counterclockwise to restore water flow. Check for leaks around the connection points.Fill the Tank and Test
Allow the tank to fill completely, then flush the toilet to ensure proper function. Check for leaks at the base and connections.
Step 5: Final Touches
Secure the Toilet Seat
Attach the seat and lid that came with your Glacier Bay toilet according to the manufacturer’s instructions.Caulk the Base (Optional)
Apply a thin bead of silicone caulk around the base of the toilet for a finished look and added stability.Clean the Area
Wipe down the toilet and surrounding area to remove any dust or debris.
Troubleshooting Tips
- If the Toilet Wobbles: Add shims under the base and retighten the bolts.
- If Leaks Occur: Recheck the wax ring and water supply connections.
Installing a Glacier Bay toilet is a manageable project for most homeowners. With the right tools and careful attention to detail, you can have your new toilet installed and functioning in no time. By following these steps, you’ll not only save on professional installation costs but also gain the satisfaction of completing the project yourself.